Easter Egg Rice Krispies Treats
My daughter’s JK class had a bake sale today. So even though I have a gazillion things to do, baking is something that I love doing and my little girl is all about helping out in the kitchen. Maybe, not helping, but saying, “I wanna do it!!!” about everything.
Let me present to you: Easter Egg Rice Krispies Treats
Easy but messy.
Here goes…
Shopping List:
Rice Krispies (6 cups)
Mini Marshmallows (5 cups)
Butter (1/4 cup & extra)
Vanilla Extract (½ teaspoon)
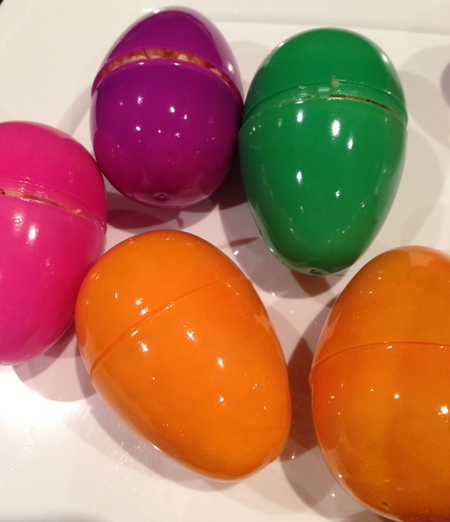
Plastic Easter eggs (the ones that open so you can fill them with goodies – I bought a pack for $1.)
Cake decorating icing tubes (I suggest the little ones, I tried using the big tubes and the icing just looked like big blobs.)
Any kind of sprinkles or sugar decorations that you’d like to use.
Wash and dry your plastic eggs and set aside. The ones that I bought were attached by a little piece of plastic. I broke them apart to make it easier for removing the gooey sweetness.
*Melt your butter over low heat.
Add in the marshmallows and stir until they melt. (I am an over-stirrer… I don’t want it to stick to the bottom of my pan.)
Add the vanilla. Turn off the heat.
Next add in the Rice Krispies and stir until it’s all coated. You’re looking for yummy and gooey.
This is where the ‘fun’ starts.
 |
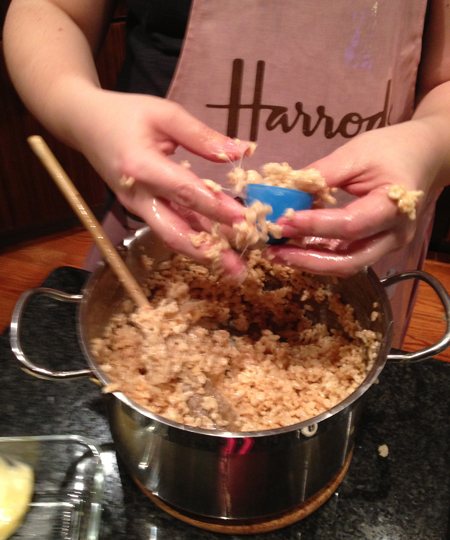
I basically used butter like hand cream and coated my hands in it because handling this is super sticky.
Take the bottom half of a plastic egg and fill it. Take the top part of the egg and fill that. Squish the two parts together and set aside. Do this for all of your eggs. Be patient, the mixture is so sticky and the eggs can be slippery (I credit this to my buttery hands). My daughter didn’t really enjoy touching the mixture, but she did enjoy handing me the eggs and putting them together after I filled them.
 |
I left the filled plastic eggs while I made mini chocolate chip muffins (also for the bake sale) and cleaned up the mess in my kitchen. I don’t know how long it actually takes for the treat to mold to the shape of the egg, but I would imagine that it could happen quite quickly.
Now it’s time to separate the eggs to remove the treat. The technique that worked for me was removing the top of the eggs and twisting the bottom with one hand while holding the treat with the other until it was loose.
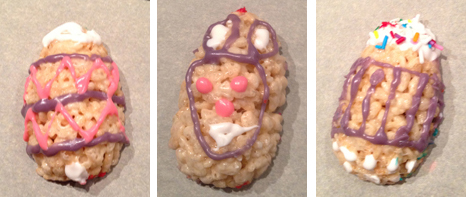
With a serrated knife, slice the egg-shaped treat in half from top to bottom. Then lay the “egg” cut side down on a tray and they are ready for decorating. Once the icing is dry store them in an airtight container.
 |
We decorated these as a family and it was a lot of fun. Decorating them was definitely my daughter’s favourite part. She was really proud of them when we brought them to the bake sale table at school this morning and she even used her 50cents to buy the one decorated like a bunny.
Do you have a favourite and fun treat that your kids love helping with?
*This recipe is taken from the back of the Rice Krispies cereal box! Fun right? And this is in no way sponsored by Kellogg’s, it’s a classic!
-
Helen
-
http://www.whispersfromthesoul.com Esther Bartkiw


